Let’s face it; everyone loves adding lucrative images to their websites. The correct visuals can give an aesthetic aura to your website. However, adding too many images can be a bummer sometimes. The worst part? Your website loads slower.
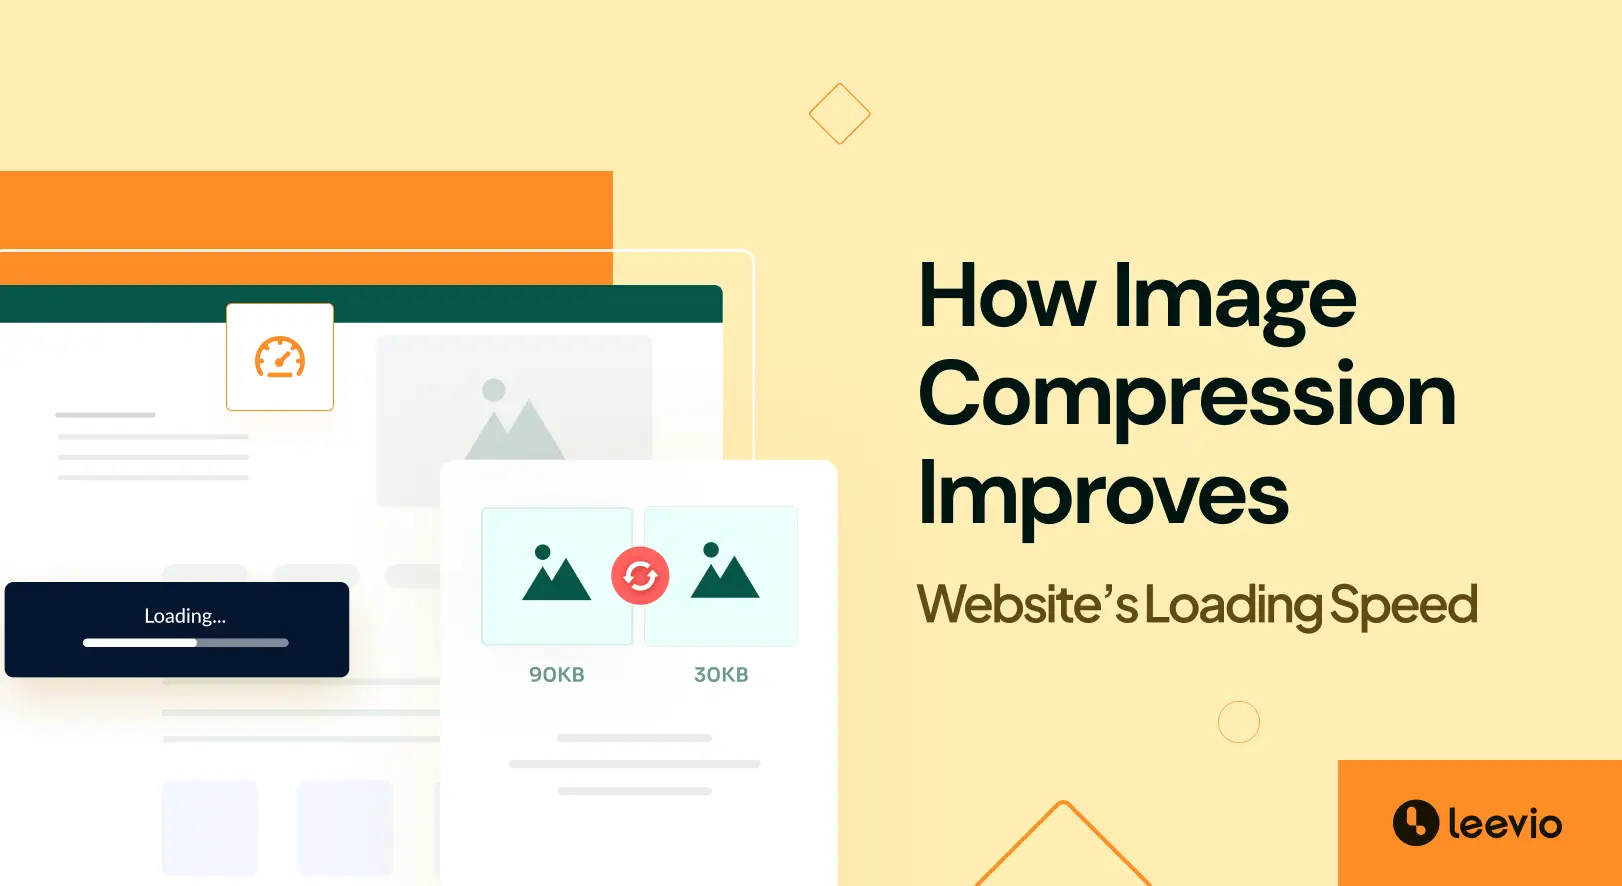
But you wouldn’t want to wait around forever for a page to show up. That’s where image compression comes in. It shrinks your images down without messing with the quality. As a result, your site loads fast without any issues.
In this article, we’ll explain in detail – what is image compression and how it improves your site loading speed. With accurate data, you’ll see how much of a difference it can make. Buckle up, let’s go!
Types of Image Compression Techniques
There are two types of image compression techniques. You can try either the lossless compression technique or the lossy compression technique. Let’s give you a brief idea on both of them.
Type 01: Lossless Compression
The best part of Lossless compression techniques is that when you compress images using this technique, you don’t lose any information. When you want to reconstruct the original image from the compressed data, you can do that with ease.
This type of compression is ideal for images where preserving every detail is important. As for the image quality, it stays perfect with nothing being compromised. Sounds great, right? Well, there’s a catch.
While it shrinks things, it might not get them super tiny. It’s because it doesn’t throw anything away. Imagine, a 15 MB image might become 10 MB, and this is good. However, it’s still not small enough for fast web loading.
Benefits of Lossless Compression
- Crystal Clear Quality: Unlike some compression methods, lossless keeps your images looking sharp. This is important for showcasing portfolios, or even sending images to clients where quality matters.
- Back to Original Anytime: Lossless compression shrinks files without throwing information away. When necessary, you can always restore the image to its original size for editing or printing.
- Speedy Websites and Transfers: Lossless compression makes your images slimmer. As a result, they load faster on websites. Not to forget, sending or copying them between devices takes less time.
Drawbacks
- Less Shrink, More Storage: Lossless compression keeps all the details, which is great. But it doesn’t make files as small as other methods. This can be a problem when you have a lot of images.
- Slower Websites: If you want to keep sharp, detailed images, your website will load slower. Because lossless compressed images are comparatively bigger than simpler ones. This means web pages can take longer to load.
Type 02: Lossy Compression
The Lossy compression technique removes the background data. In the process, it approximates some specific detail of an image file and compresses it. What you get later is a smaller and easier-to-store file.
However, there’s a trade-off. In this process, you lose your image data permanently and you can’t get the original quality back. This is why, the name of this compression technique is ‘lossy.’
Benefits of Lossy Compression
- Minimal Storage: Lossy compression shrinks images way down. This frees up a lot of space on your phone, computer, or cloud storage. It’s like having a built-in storage expander!
- Easy and Fast File Transfer: Lossy compression makes files lighter and easier to transfer. Sending or receiving the files becomes lightning fast.
- Good Enough for Most: Lossy compression finds a sweet spot. It reduces file size significantly. However, the image quality usually remains very good. In most cases, you won’t notice any difference.
- Speedy Websites: As lossy compression makes images smaller, your website loads faster than before. This keeps visitors happy and might even boost your search engine ranking.
- Simple to Use: Lossy compression is user-friendly. There are lots of programs that let you adjust the compression level. And it’s easy to use with options like ‘high,’ ‘low,’ or ‘medium.’ Plus, there are handy plugins that can compress your images automatically.
Drawbacks
- Diminished Image Fidelity: This might seem a bit contradictory as we’ve said, you won’t see any loss of image details. Well, the loss compression indeed keeps the level of details, color accuracy, and overall quality acceptable for routine web usage. However, it is not recommended for high-resolution prints or situations where ‘Quality Matters’.
- Irreversible Data Loss: The data you lose during lossy compression cannot be recovered. You must keep extra backups of the original files if the uncompressed quality is ever required.
- Reduced Editing Potential: You might experience exhibit limitations during post-production editing of the images compressed by lossy compression. Their response to adjustments may be compromised. This might render them less suitable for extensive editing workflows.
- Potential for Unintended File Degradation: In some cases, digital cameras may automatically compress image data. Additionally, repeated edits, saves, and resizes can cumulatively degrade the quality of a file. And this might happen even without explicit user input. It is essential to be mindful of these potential factors.
How to Balance Image Quality with Website Speed
Here, we’ve explained several effective tips on how to optimize image quality. These will help you make a balance between your image quality and web speed. Follow these steps accordingly.
1. Check Your Website’s Speed Before Optimizing
You must see how fast your site is now before you jump into image compression. If you do this, you can measure the improvements later. Here are some free online tools you can check your site speed with.
Using them is simple. Just visit their websites, enter your site’s address, and run the test. Following this, you’ll get a quick report based on the performance of your site.
For WordPress sites, WP Engine’s Website Tester is a great option. It analyzes your WordPress site specifically. This will give you detailed info on its current speed and how to make it faster. All you have to do is enter your URL and email. Once done, the tester will provide a breakdown in about a minute.
2. Choosing the Right Image Format for Your Website
You must pick the best file type for images so your website can load faster. Here’s a breakdown of the most common types of image formats you can use.
JPEGs: Great for Photos
- These are perfect for showing off colorful photos. The best part? They come with smaller file sizes.
- Ideal for most website images
- Thanks to its ‘Progressive’ export, your website loads faster.
PNGs: Best for Flat Images and Transparency
- If you want to create logos, icons, illustrations, and images that have transparent backgrounds, you should go for PNGs.
- Choose the right dimensions and save them as PNG-24 (or 8 if the quality isn’t affected).
GIFs: Limited Colors, Great for Simple Animations
- You get only 256 colors with GIFS. So, you have to use them selectively.
- Optimize by considering length, looping needs, and the number you actually need.
3. Resize Images Before Uploading for Faster Loading

You can speed up your website by resizing the images just before uploading them. Because raw camera images are often much larger than what your website needs. So, if you upload a giant photo to a tiny frame on your blog post, extra pixels can slow down your web page.
For example, let’s say your website displays images at 500×500 pixels. But you uploaded a 1024×1024 image. This can’t improve the quality. Rather, it just makes your site load slower.
By resizing your images to the right dimensions before uploading, you’ll:
- Reduce file size
- Improve website loading speed
- Save valuable storage space for more images
Resizing is easy. Just use any image editing software you have:
- Photoshop (advanced editing)
- Preview (Mac)
- Paint (Windows)
- Canva (free online tool)
4. Image Compression for Reduced File Size
First things first. You need to select the appropriate format and crop the image to a suitable dimension. After that, you can take a final step to optimize your image for website upload: compression. This makes the file smaller without noticeably lowering image quality.
Next, select one of the two compression methods described above for your image. Choose lossless compression if you want to preserve the image’s quality throughout the compression process. If you want to go for a significant reduction in the file size, go for lossy compression.
5. Use WordPress Plugins for Image Optimization
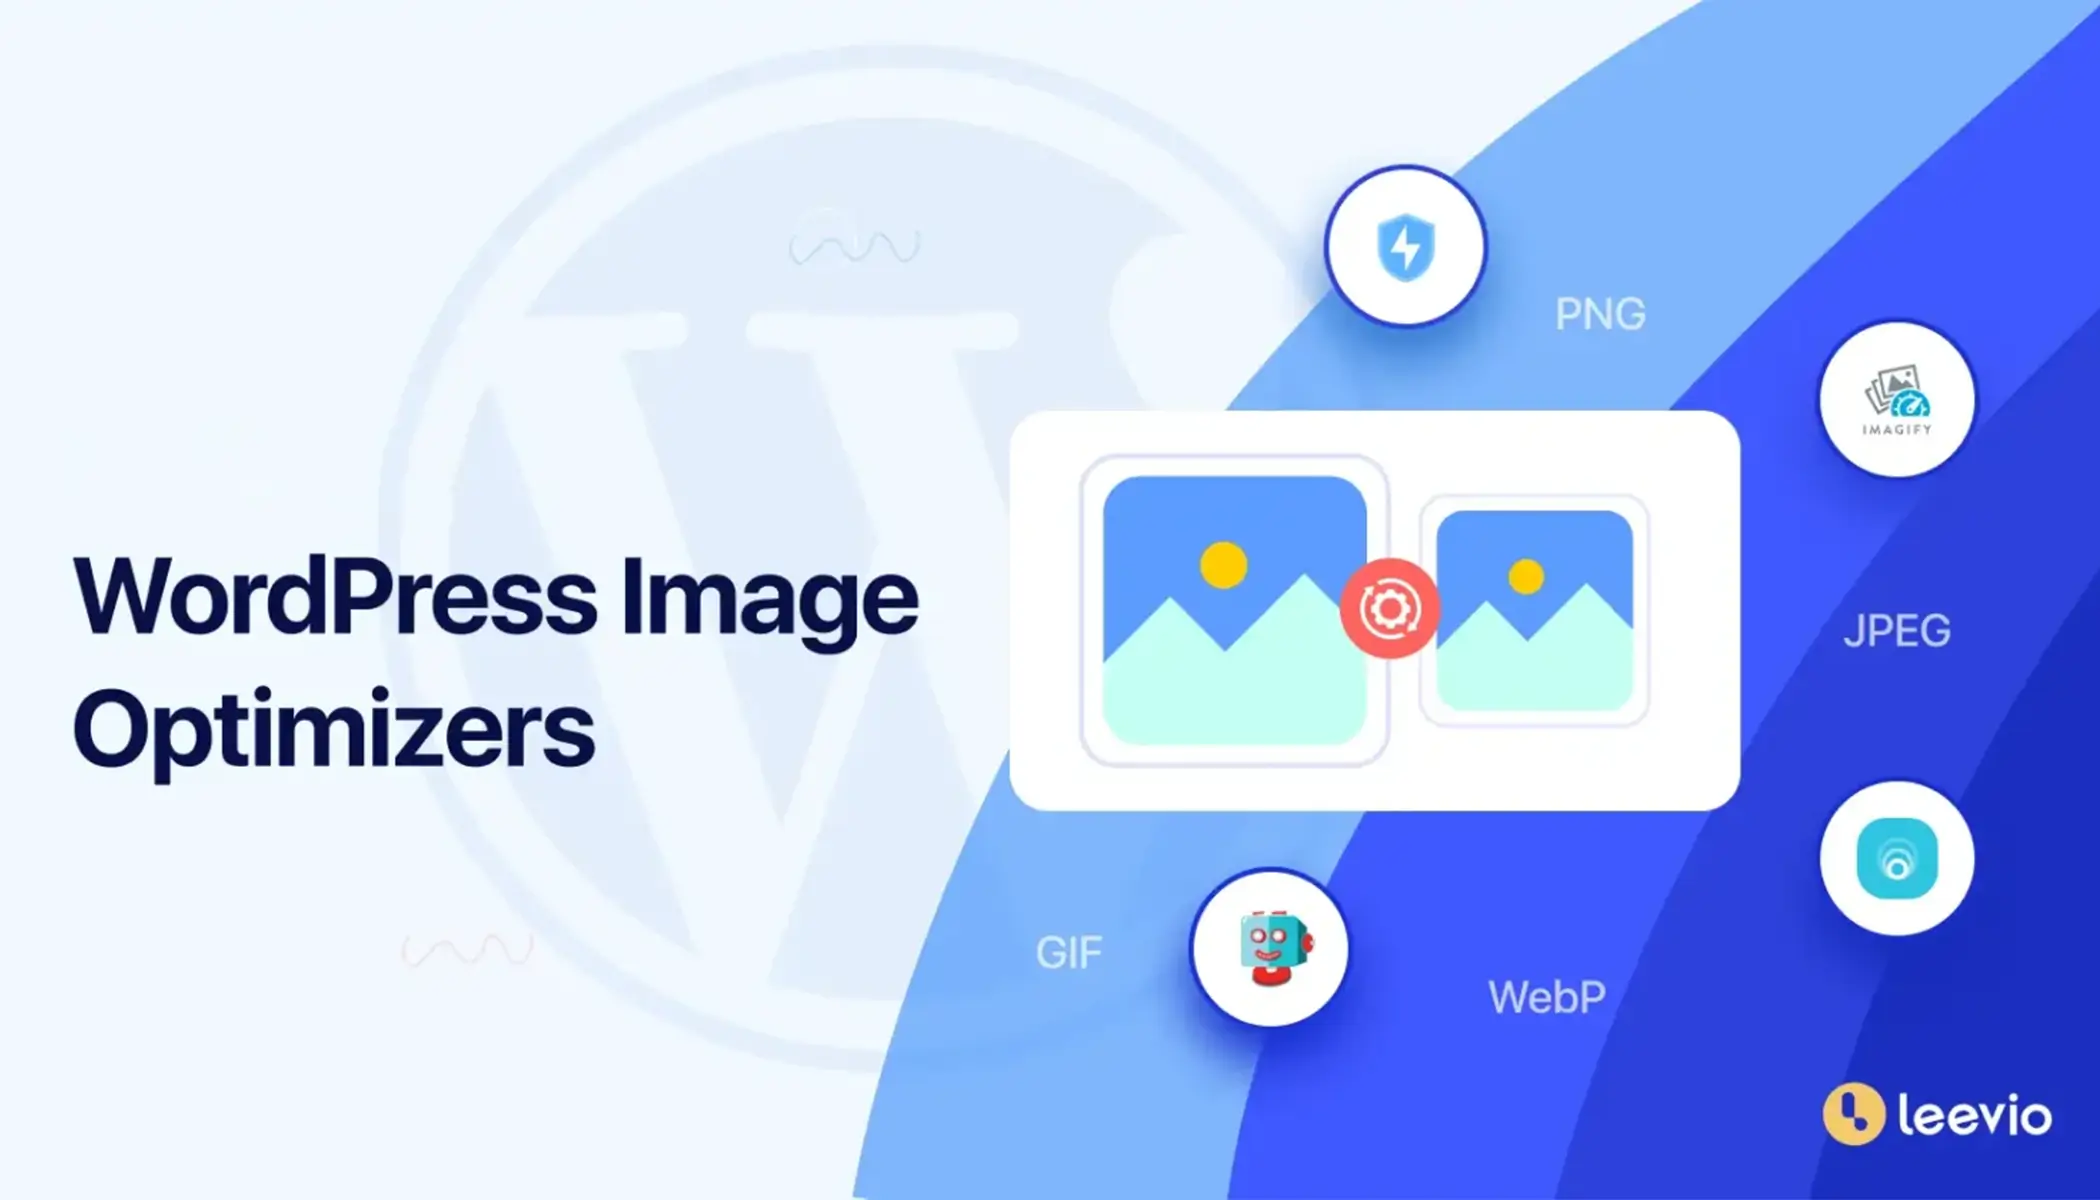
The process of image optimization can appear resource-intensive. If you use WordPress plugins, things will be much easier. These plugins offer significant advantages in streamlining the workflow. Consider the following points to choose a WordPress plugin for image optimization.
- Functionality of Image Optimization Plugins
Upon image upload to your WordPress website, these plugins can automatically compress and resize the images. This means you won’t need any manual execution of these steps. This will save time.
- Benefits for Client Websites
The implementation of image optimization plugins is particularly advantageous when creating websites for clients. Sometimes, the optimization process can give end-users and content creators a hard time. Pre-installing plugins that automate these tasks ensures optimal website performance. This will also speed up after-project handover.
Recommended Image Optimization Plugins
For WordPress site image optimization, we recommend you considering the following plugins:
Explore the best free WordPress image optimizer plugins.
6. The ‘Blur-up’ Technique for Enhanced Perceived Load Time
So, you’ve shrunk your images. But your website is still loading slowly? Don’t worry, there are more tricks up our sleeves!
Sometimes, even after you’ve optimized your images, there are still some images that might have stayed big. Here’s the thing: we can make your site feel faster by making it seem like the images load quicker, even if they don’t actually.
Imagine showing a blurry picture first. It’s more like a placeholder, while the real image loads in the background. That way, visitors aren’t staring at a blank screen while they wait. This trick is called ‘blur-up’ and it’s pretty neat! You can learn more about how to do it with this tutorial on CSS tricks.
7. Lazy-Load the Images of Your Website

Here’s another trick that you can use to make your site feel faster. This is called ‘lazy loading.’ It’s kind of like the ‘blur-up’ technique we talked about earlier.
When someone visits your site, they usually start at the top and scroll down. They might take a while to get to the bottom. This happens if they’re busy reading your content.
Lazy loading knows this. So, it only loads the images people can actually see right away. The rest of the images just show a placeholder (like a blank box) until the visitor scrolls down. Cool, right?
It works even better if you use it with all the other image optimization tips we covered. The good news is that it’s super easy to set up on a WordPress site with a plugin like Smush.
How Image Compression Affects Your Website’s Loading Times
Images can be the biggest burden on your website’s loading speed unless maintained correctly. Studies by Google show that when visitors visit your site, images make up almost ⅔ of the total data. This can significantly slow down your website. But by optimizing images, you can contribute to lots of improvements.
Faster Page Load Times
Research consistently shows that slow loading times are website killers. Your visitors will leave your site if it loads slower, and you’ll lose conversions and revenue. Once you compress images, your site will noticeably become faster. This can keep visitors engaged and increase the chances of a conversion.
Improved SEO
Google always prioritizes websites that load faster. And how do you do this? By compressing the images. With this, you can potentially climb the search engine rankings ladder. Remember, lean and mean is always a good strategy for SEO. Learn common mistakes you must avoid in SEO.
Quicker Website Backups

Smaller websites are easier to back up, which is crucial for website security. If you compress the images, it will reduce your website’s overall file size. As a result, making regular backups will be a breeze. What you get at the end of the day is a more secure website and peace of mind.
Lower Hosting Bandwidth
Here’s a bonus perk. Compressed images can save you money on website hosting. Since they need less storage space, you might be able to choose a hosting plan on a budget. This is especially beneficial as your website grows and accumulates more content.
Wrapping Up!
That’s it for our guide to optimizing images for a faster website! Run another speed test after making these changes and see how much faster your site is now. Nice work! With the right tools, you can have a super speedy website in no time.
