Managing a website involves a lot of tasks, and one of the most tedious can be keeping images up-to-date. Whether it’s updating a product photo, changing a logo, or refreshing the look of a blog post, replacing images across multiple pages can take up valuable time.
But what if you could update your images with just a few clicks without going through each page individually? HappyMedia’s new Image Replace feature does exactly that! It’s designed to make image management effortless while keeping your website’s SEO intact.
In this blog post, we’ll explore how this feature works, its benefits, and why it’s a must-have for any WordPress user.
Table of Contents
What Is the Image Replace Feature?

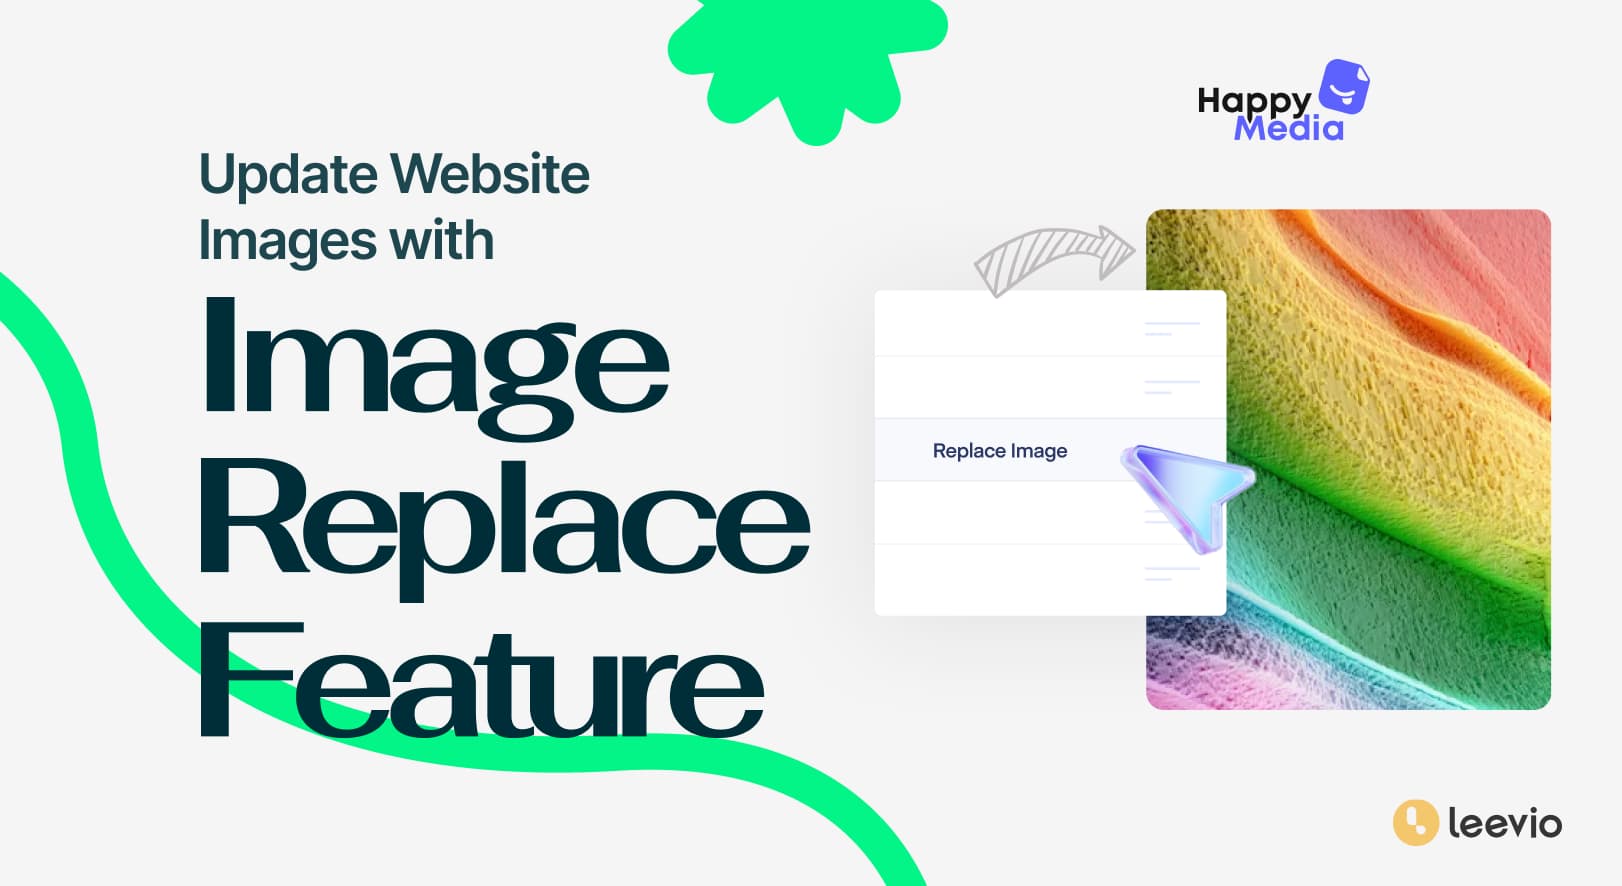
HappyMedia’s Image Replace feature is a tool that allows website owners to replace images throughout their site quickly and efficiently. Instead of manually finding and replacing each instance of an image, you can do it all in one go. When you replace an image in your media library, HappyMedia automatically updates it everywhere that image is used on your website.
This feature is perfect for those who frequently update their site’s visuals, want to maintain consistency, or need to ensure that SEO remains unaffected when making changes.
Why Image Replace Is a Game-Changer –

This saves you time, keeps your site looking consistent, and ensures your SEO remains intact. No more tedious manual updates or worrying about broken links — just smooth and simple image management!
⏱️ Time-Saving
One of the most significant benefits of the Image Replace feature is the time it saves. Traditionally, if you wanted to update an image that appeared on multiple pages, you’d have to replace it manually on each page. This could mean hours of work, depending on the size of your site.
With HappyMedia, replacing an image is as simple as selecting the image, choosing the replacement, and clicking a button. All the instances of that image are updated automatically, saving you countless hours of work.
🌐 SEO Benefits
Search engine optimization (SEO) is crucial for maintaining your website’s visibility on search engines like Google. Changing images can sometimes lead to broken links or changes in image URLs, which can negatively impact your SEO.
However, HappyMedia’s Image Replace feature allows you to replace images while keeping the same file name and URL. This means you can update your visuals without worrying about SEO issues or broken links. Your site stays optimized and search-friendly.
🧑💻 User-Friendliness
Not everyone is a tech expert, and that’s okay. HappyMedia’s Image Replace feature is designed to be user-friendly, making it accessible to everyone, regardless of technical expertise. The interface is straightforward, and the process is intuitive. You don’t need to know how to code or have any special skills to use it. Just a few clicks and your images are updated!
How to Enable and Disable the Image Replace Feature
By default, the Image Replace feature is enabled for all HappyMedia users. However, you have the flexibility to turn it on or off as needed. Here’s how you can do it:
- Navigate to your WordPress Backend Dashboard.
- Go to the HappyMedia Menu.
- Click on the Feature Tab.
- Toggle the switch to enable or disable the Image Replace feature.
This simple process gives you control over how and when you use the feature, ensuring it fits your specific needs.
Step-by-Step Guide to Replacing Images
Using the Image Replace feature is easy. Here’s a step-by-step guide to get you started:
- Access Your Media Library: Go to your WordPress dashboard and navigate to the Media Library.
- Select the Image: Find the image you want to replace and click on it.
- Click the Image Replace Button: Once you have selected the image, an option to replace it will appear. Click on the Image Replace button.
- Choose Your Replacement Method: You will have two options:
- Replace and keep the old name and link: Ideal for maintaining SEO. This option keeps the file name and URL the same.
- Replace and use a new name and URL: This option allows you to update both the file name and the URL, which may be necessary for rebranding or campaigns.
- Upload the New Image: Choose your new image file and upload it. HappyMedia will handle the rest, updating all instances of the old image across your site.
In just a few simple steps, you can update your website’s images quickly and efficiently!
Image Replacement Methods: Options and Flexibility

HappyMedia offers two methods for replacing images, giving you flexibility based on your needs:
- Replace the File and Keep the Old Name and Link: This method is ideal for those who want to ensure that their SEO remains unaffected. By keeping the old file name and URL, you prevent any disruption to your SEO rankings. This is perfect for minor updates or changes where the content remains relevant but the visual needs a refresh.
- Replace the File, Use a New Name and URL: This method is great for situations where you want a completely new image identity. It updates both the file name and the URL, which might be necessary for new marketing campaigns, branding changes, or to better reflect the updated content. However, if the old URL is used on other sites or platforms, you’ll need to update those references manually.
These options ensure that you can tailor the image replacement process to suit your specific requirements, providing both flexibility and control.
Practical Demonstration of Image Replace: See the Magic
Imagine you’ve just redesigned your company logo and need to update it on your website. Your old logo is used in the hero section, multiple blog posts, and several product pages. With HappyMedia’s Image Replace feature, you don’t have to go through each page individually.
Just go to your Media Library, select the old logo, replace it with the new one, and HappyMedia will update every instance of the logo across your site. It’s that simple!
This not only saves time but also ensures consistency across your site, maintaining your brand’s identity without the hassle of manual updates.
Note on different dimensional image use case –

If you are using different dimensional images to replace then you might have to change the image resolution from the editor panel. Here is the process –
How to resolve Block Editor’s image replace dimension mismatched issue!
Sometimes you may get this error.

To fix the issue, you must set the resolution size from the right sidebar. Set the full-size resolution. It will fix the issue.
Important Note:
After replacing the image you might not get the image replacement reflection instantly without refreshing the page or content. If you are using a heavy caching system then you might need to clear the cache to see the reflection.
Best Practices for Using the Image Replace Feature

To get the most out of the Image Replace feature, consider these best practices:
- Use the Same File Type: Ensure the new image file is of the same type as the old one (e.g., JPEG for JPEG). This maintains consistency and avoids potential issues with image display.
- Flush Your CDN Cache: If your site uses a Content Delivery Network (CDN), make sure to flush the cache after replacing images. This ensures that visitors see the updated images instead of cached versions.
- Check All Instances: After replacing an image, it’s a good idea to review a few pages to confirm that the replacement has been applied correctly. This helps ensure that your site looks the way you want it to.
Following these tips will help you make the most of the Image Replace feature, keeping your site’s visuals up-to-date and consistent.
Benefits of Using HappyMedia’s Image Replace Feature
The Key Advantages of Using HappyMedia’s Image Replace Feature for Streamlined Site Updates –
- Increased Efficiency: Save time by replacing images across your entire site with just a few clicks.
- Improved SEO Management: Maintain SEO integrity by keeping the same file names and URLs.
- User-Friendly Interface: Easily manage images without needing technical skills.
- Consistency Across Your Site: Ensure your site’s visuals are up-to-date and consistent with your branding.
FAQs About the Image Replace Feature

Q1: Can I use the Image Replace feature on any type of image?
A1: Yes, the Image Replace feature works with all standard image types (e.g., JPEG, PNG, GIF). Just make sure to replace the image with the same file type to avoid issues.
Q2: Will replacing an image affect my SEO?
A2: No, if you choose to keep the old name and link, your SEO will remain unaffected. This option ensures that your image URL stays the same, maintaining your SEO integrity.
Q3: Can I replace multiple images at once?
A3: Currently, the Image Replace feature works on a one-by-one basis. You’ll need to select each image you want to replace individually.
Q4: Do I need any technical skills to use this feature?
A4: No, HappyMedia’s Image Replace feature is designed to be user-friendly and does not require any technical skills. The process is simple and intuitive.
Q5: What happens if I replace an image that is used on other websites?
A5: If you replace an image with a new name and URL, you’ll need to manually update any references to that image on other sites. If you keep the same name and URL, there should be no issues.
Video Tutorial of Image Replace Feature
Here is the full tutorial on this feature –
Simplifying Image Management with HappyMedia
The Image Replace feature is a game-changer because it streamlines the process of updating images across your website. With just a few clicks, you can replace any image in your media library and have it automatically updated everywhere it’s used.
This not only saves you time but also ensures consistency and maintains your site’s SEO integrity. No more manual replacements or broken links — just seamless image management!
Ready to simplify your image management? Grab HappyMedia and start using the Image Replace feature now!